Create, save and print a report
Report actions
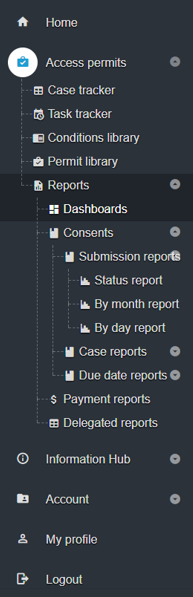
Select Reports > Dashboard> Consents
Review and save a report
Select the report and either:
- On the existing chart view, change column values using the existing drop down list to change values and filters, then Save chart.
- On the existing table view, change column values using the existing drop down list to change values and filters.
- Create a NEW TAB, and customise the columns and data to include in the chart or table (see Using tables, tabs and filters)
Export a report
Follow the steps for exporting any date - Export / Extract Data in Case Tracker
Print a report
Use your mouse to 'right-click' on the page to print or export the report data.
, multiple selections available, Use left or right arrow keys to navigate selected items