Navigate the Route Planner Tool
- Linda MacDonald (Unlicensed)
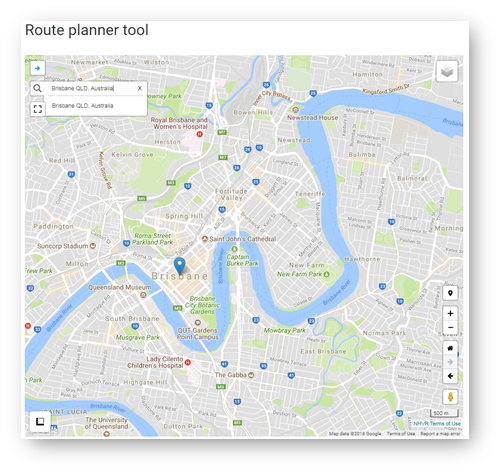
From the NHVR Portal login screen, select Information Hub > Route Planner Tool.
- Click on the search icon and enter the required location. The system will automatically display a list of matching results.
- Select the preferred address or location.
A location point will appear on the map.
- Zoom into the section of the map using the zoom buttons. The mouse scroll wheel can also be used.
The map can be moved by left-clicking the map and dragging to the desired location. This can also be done by using the up, down, left and right arrow keys on the keyboard after clicking on the map.
Change the Base Map
Hover over the layers icon in the top right of the map. An expanded list will appear. Click on the desired base map:
Roadmap - standard Google mapHybrid - satellite image & road names
Satellite - satellite image
Terrain - Google map with terrain
View the Map in Full ScreenAt any time, the map size can be changed using the full screen icon
 .
.Full screen mode can also be exited by pressing the ‘Esc’ key on the keyboard.
The screen can be also made larger by clicking the ‘hide route planner tab’ icon
 .
.Print a Map
Click the print icon
 to print the map.
To display the print icon, a layer or route needs to be added (see Creating a Route).
Enter a title for the printout.
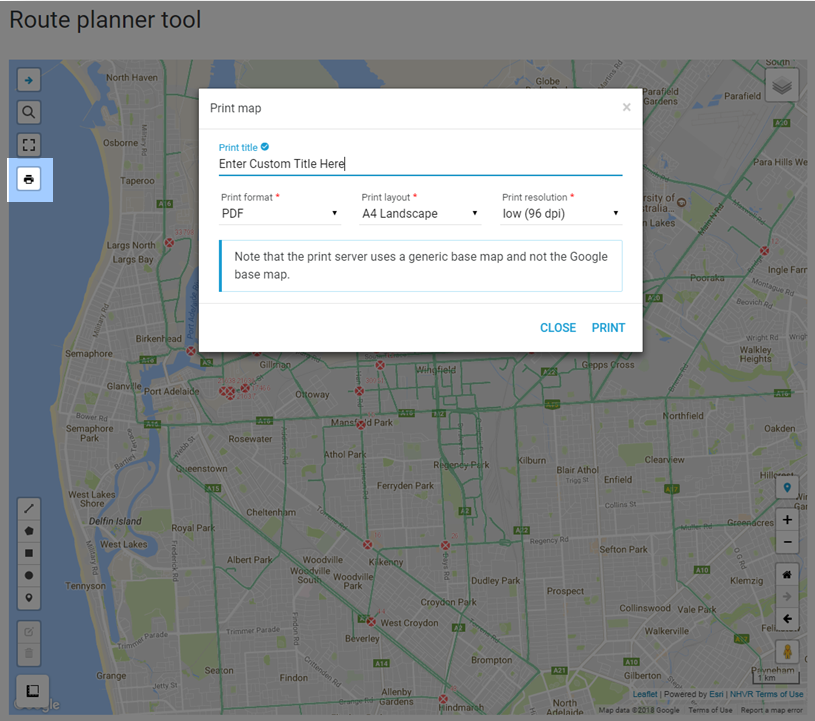
- Select Print.
The printed page will automatically be downloaded to your computer for printing.
Do not refresh or navigate away from the blank loading page. The printing may take a few minutes to complete.
The map routes are only correct at the time of printing, therefore they can not be relied upon as compliance with an applicable Notice.