Steps to change table columns in Case Tracker
- Select Case Tracker
- Add columns to the existing table by selecting TAB OPTIONS > Change columns.
...
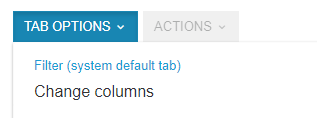
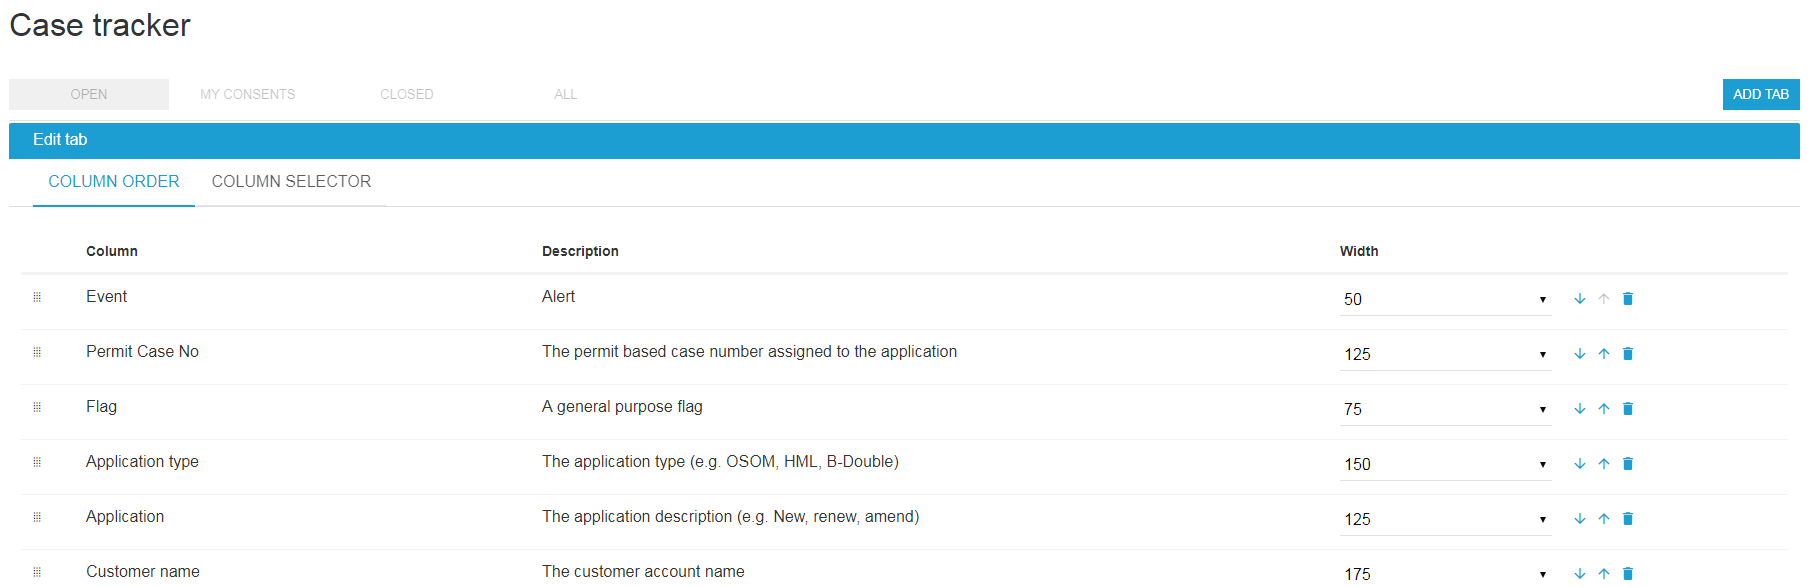
- On the COLUMN ORDER tab, you can use the up/ down and delete buttons to move or remove the column from the table.
...
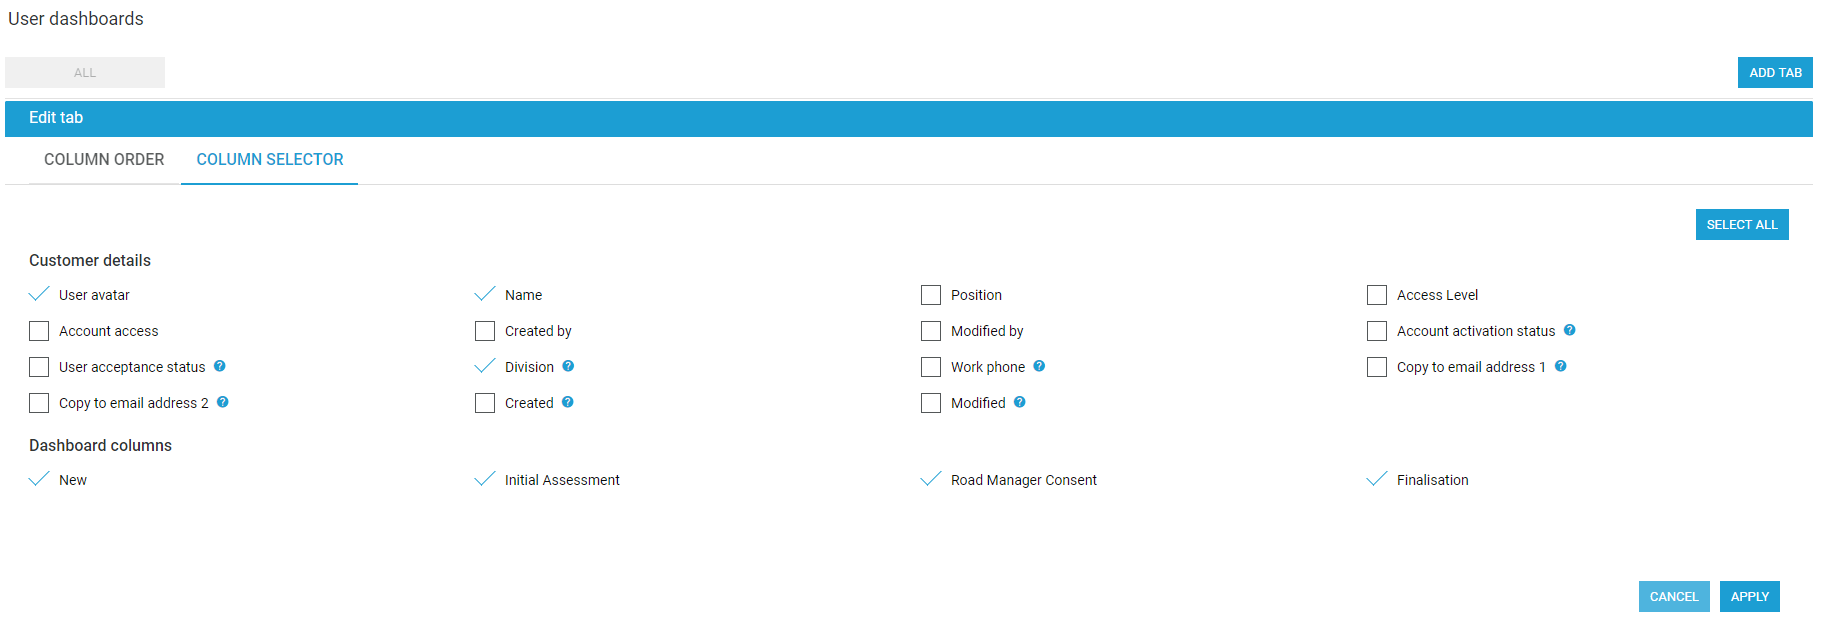
- Then on the COLUMN SELECTOR tab, tick the checkbox against the column you wish to add and click APPLY.
...
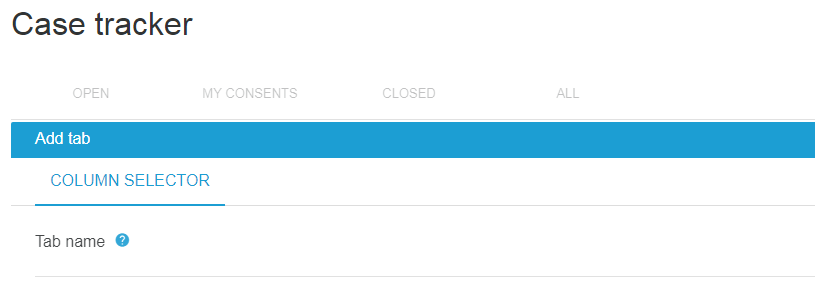
- Or for regular reporting, use ADD TAB on the right to create a new table by again using the COLUMN SELECTOR.
- Complete the Tab name, select the columns you wish to add and add.
...
- If you want to delete a personal tab, TAB OPTIONS > Delete personal tab.
- If you want other users on your account to have access to this table, select TAB OPTIONS > Save as account level tab.
...

- Once a tab is set to display at account level, you can Prevent users personalising tab.
...
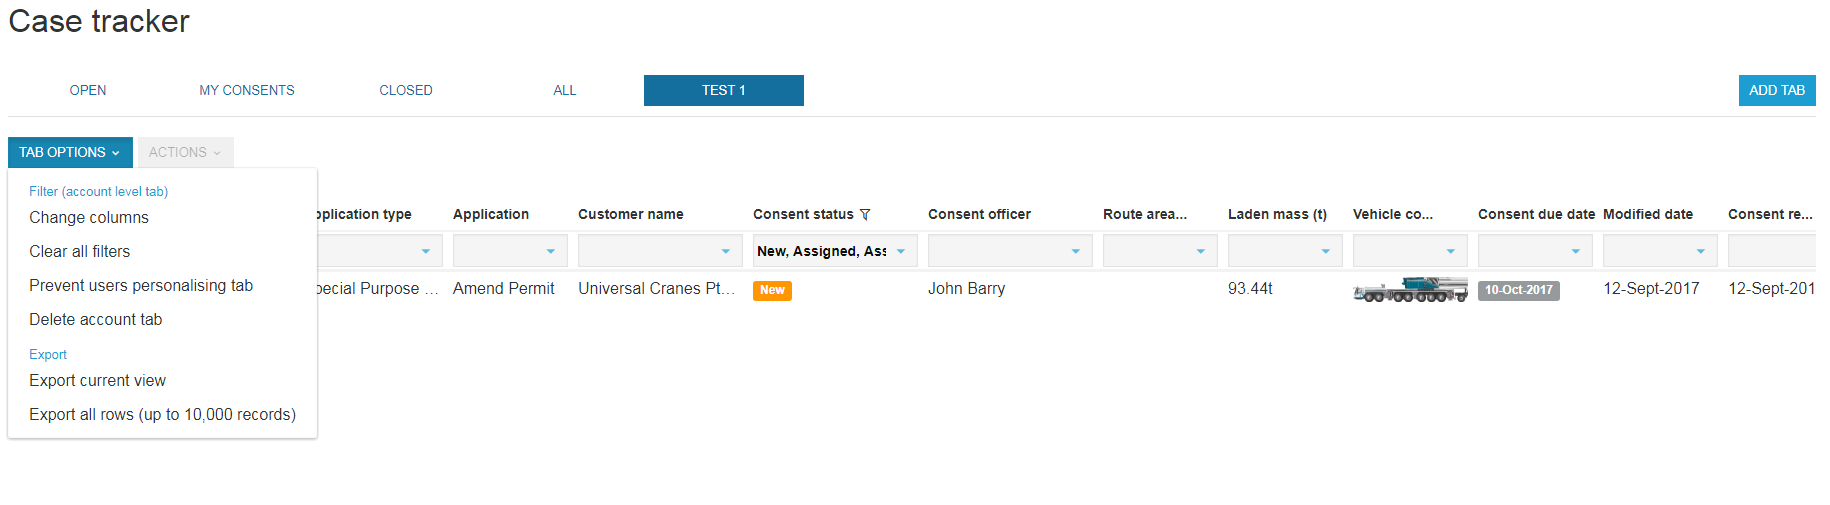
- If set to prevent users from personalising, the TAB OPTIONS will change to display Allow users to personalise tab and Delete account tab if you need to carry out any additional actions.
...
